I’m sorry for the inconvenience because of the product hardware problem.
Here is the information for disassembly SnapBeat and replace its main board at your place.
If you have any question on disassembly and assembly, please ask me anything before proceeding the process.
Disassembly
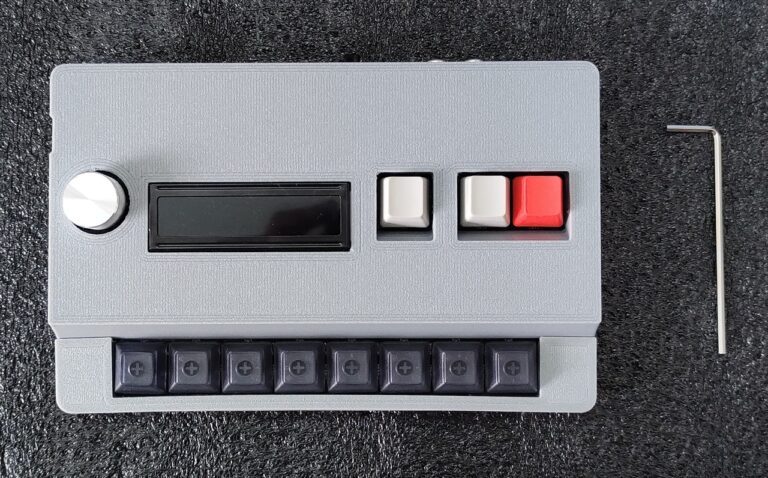
Please prepare 2.5mm hex wrench.
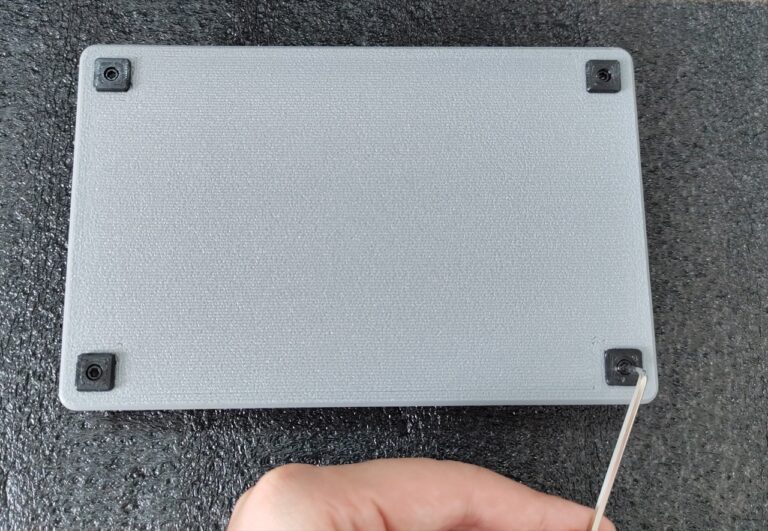
Unscrew the screws of four rubber feet.
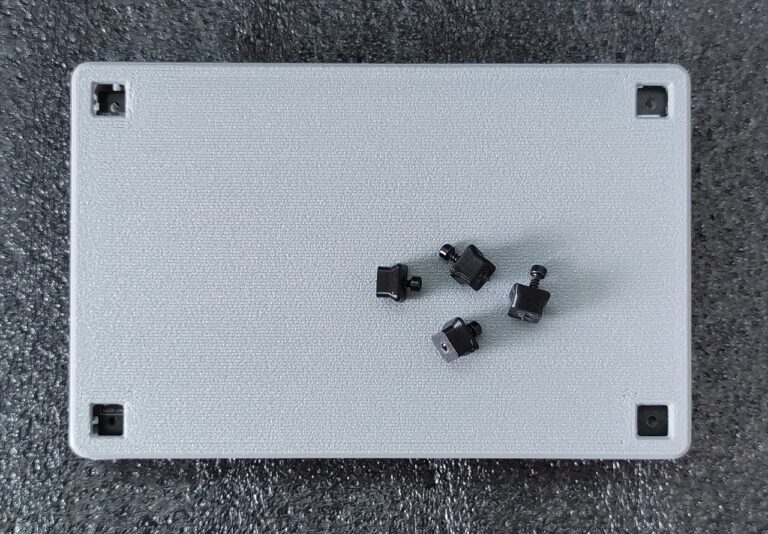
Remove rubber feet and screws.
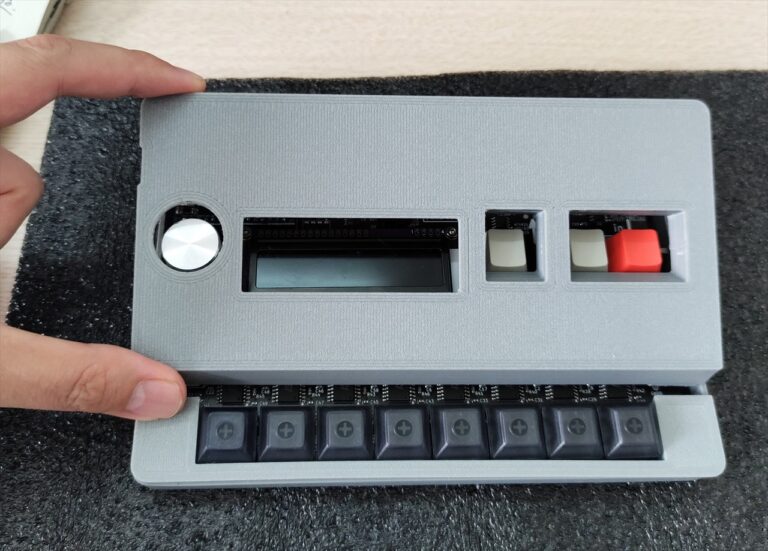
Remove the top case.
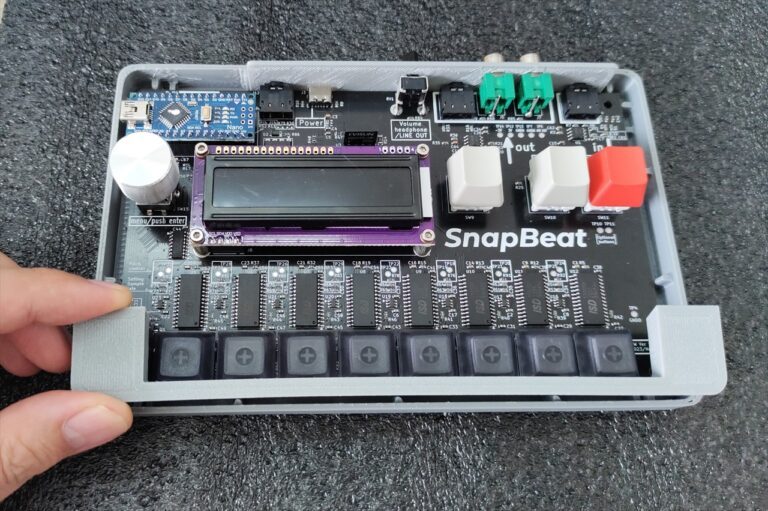
Remove the top front case.
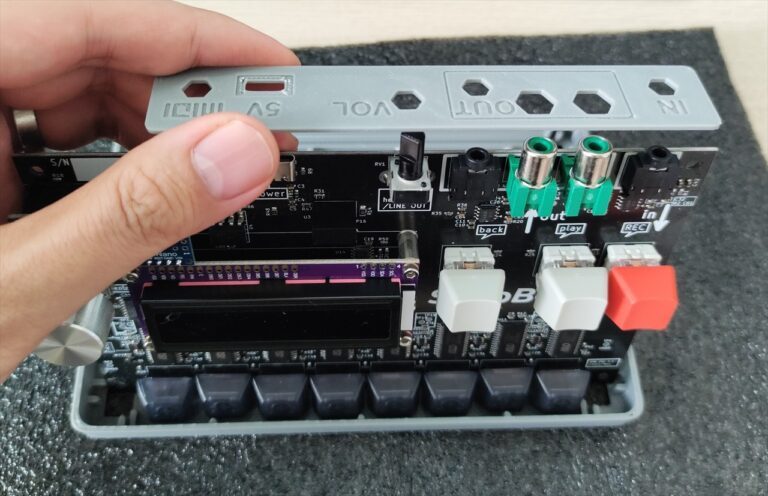
Lift the main board and remove the back panel.
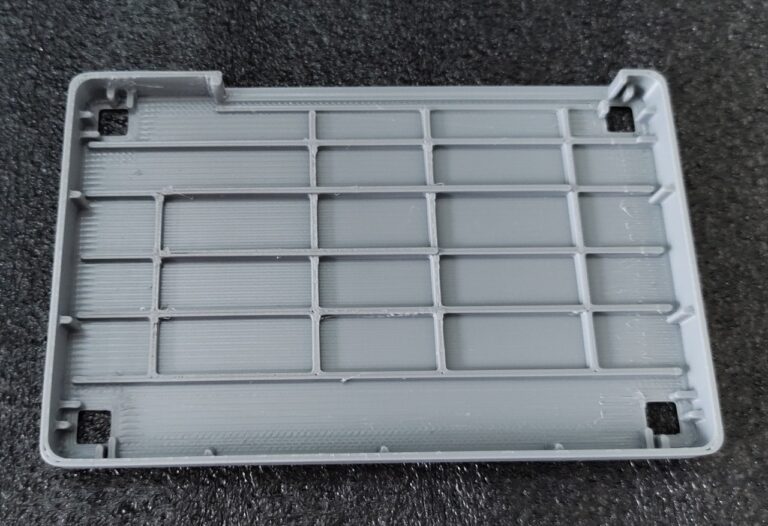
There is only bottom case.
Please prepare new main board.
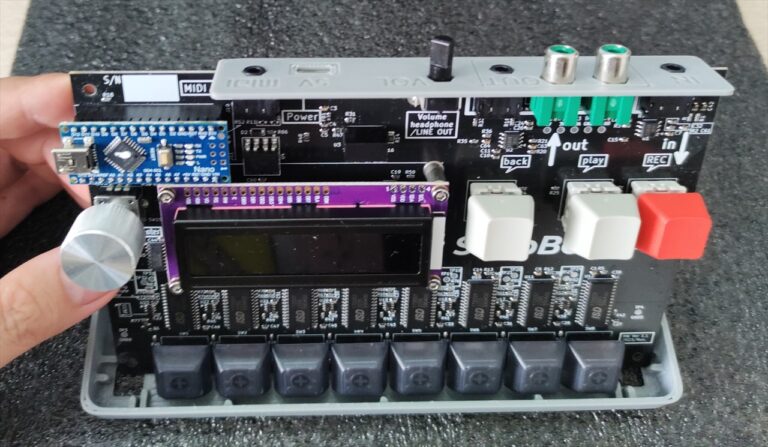
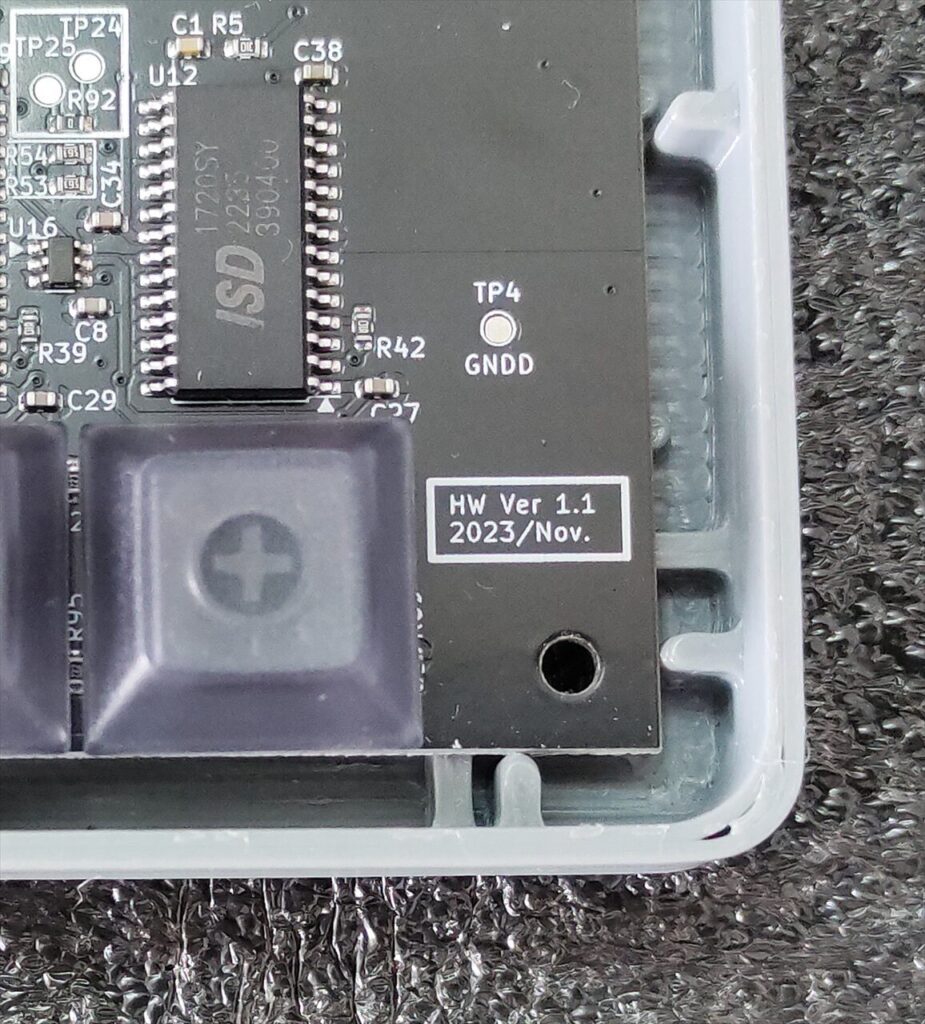
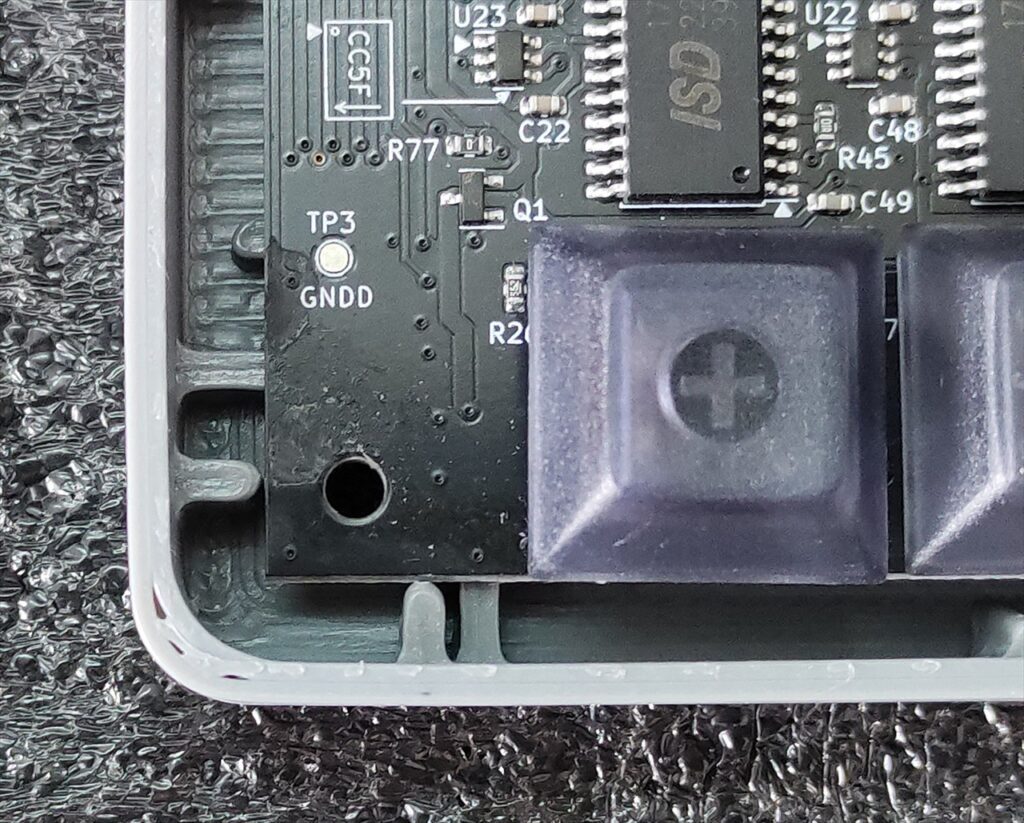
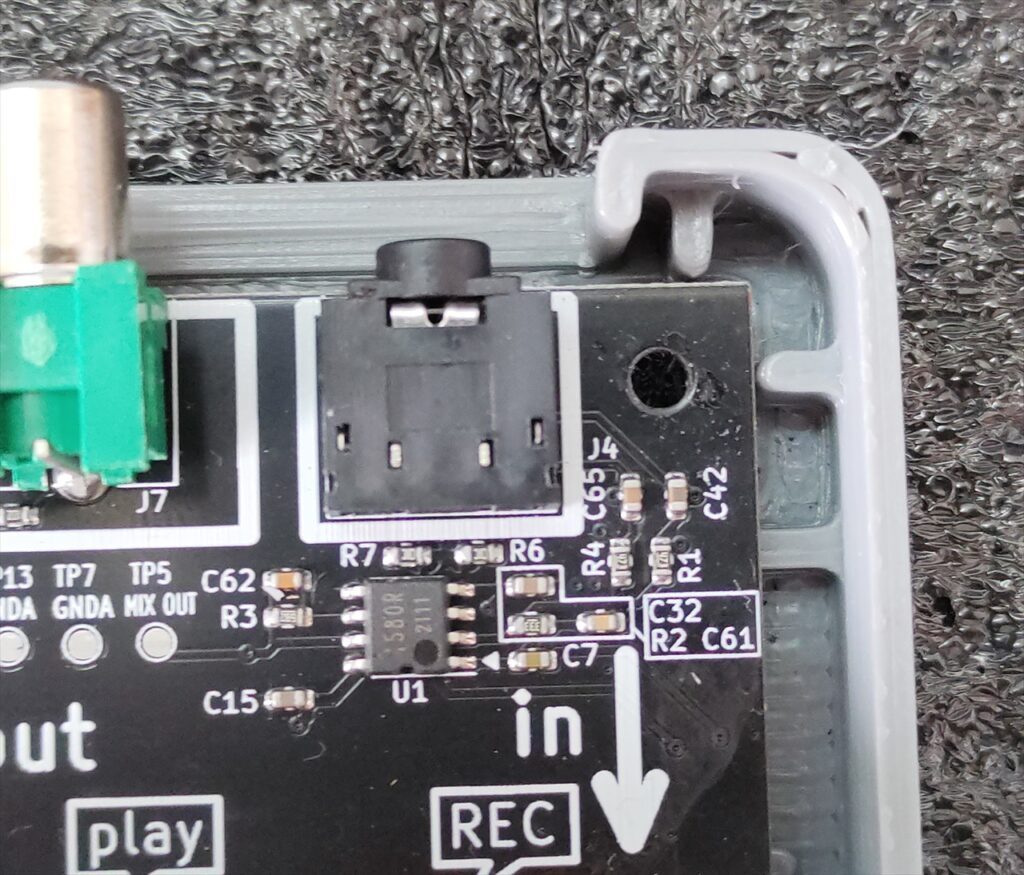
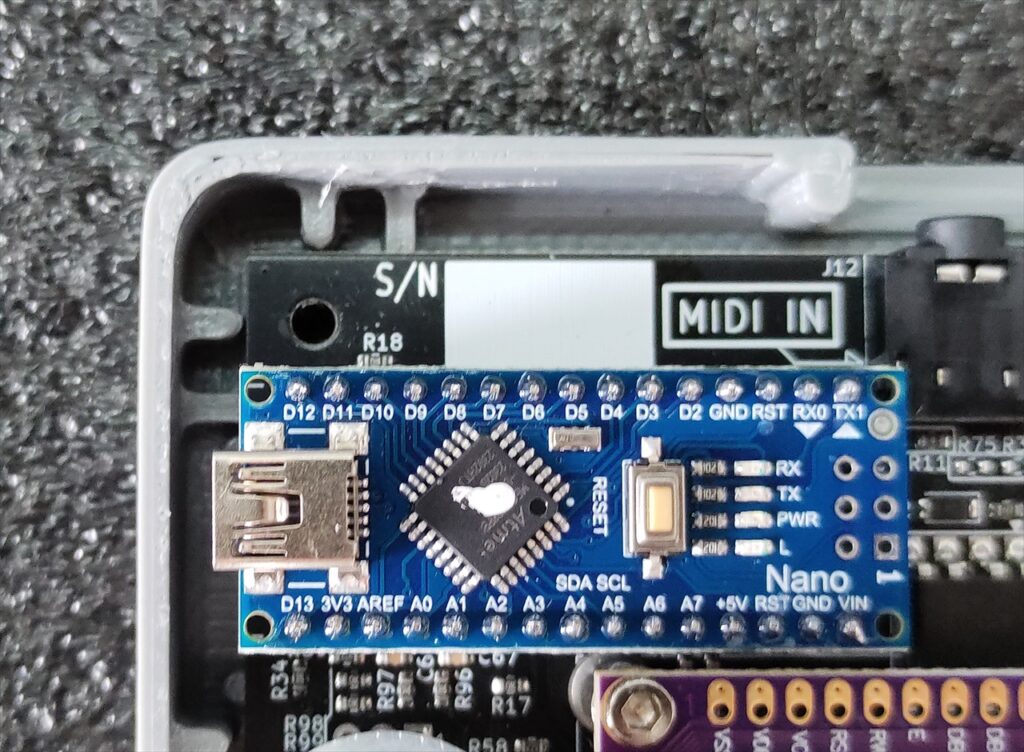
Attach the back panel on the top of new main board and place the main board on the bottom case. You can align and position the main board with the guide shape at the four corners of bottom case.
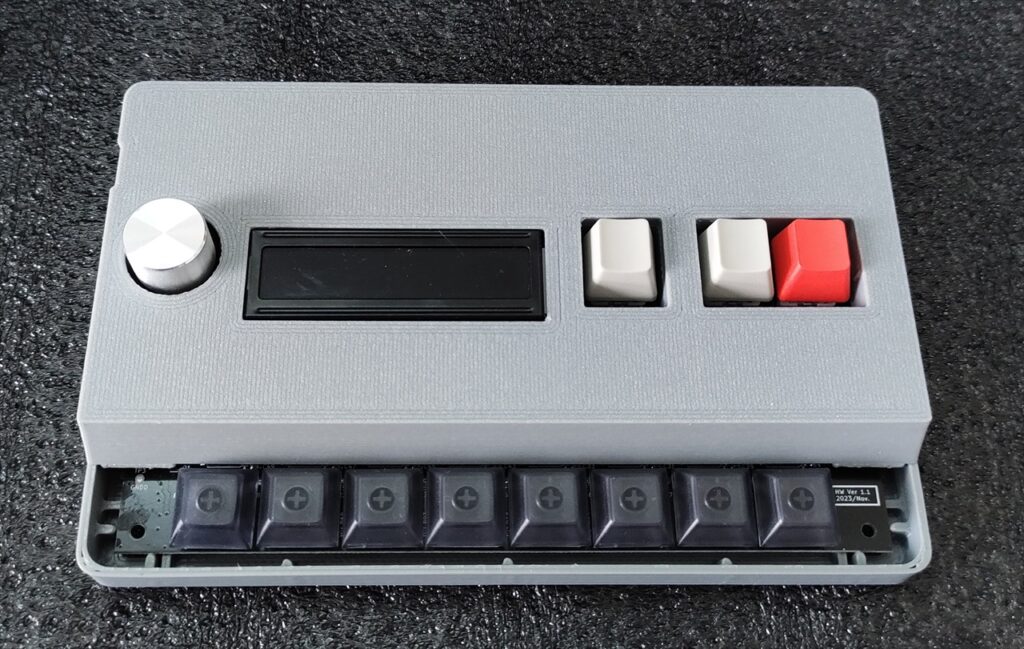
Put the top case.
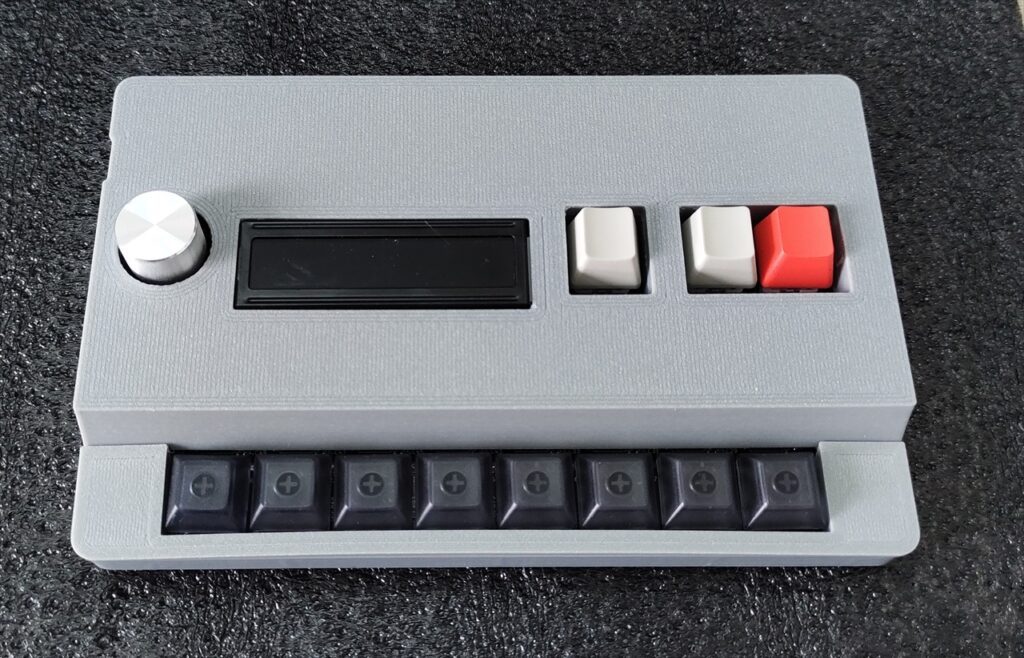
Put the top case front.
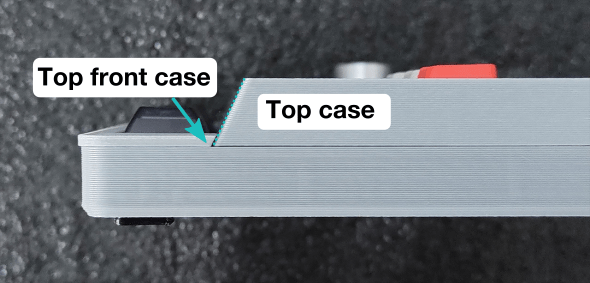
Please confirm that the top case is located underneath of the top front case.
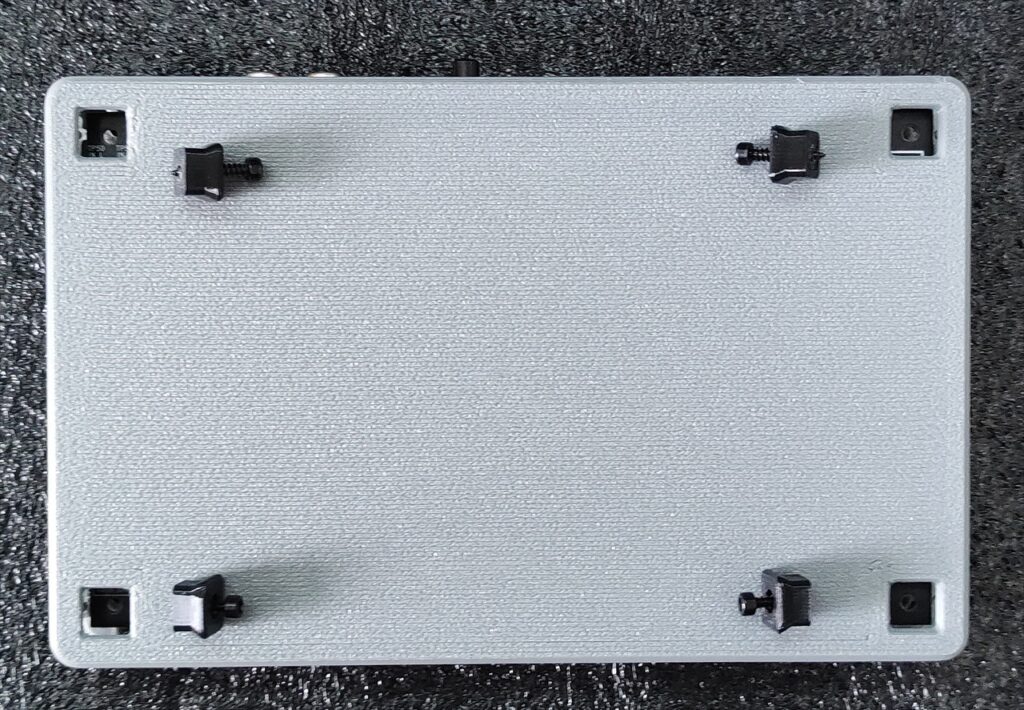
Screw the four screws and rubber feet and assemble the top case and bottom cases.
Please be noted that there are two length of the screws. The longer ones are the top two corners and the shorter ones are the bottom two corners.
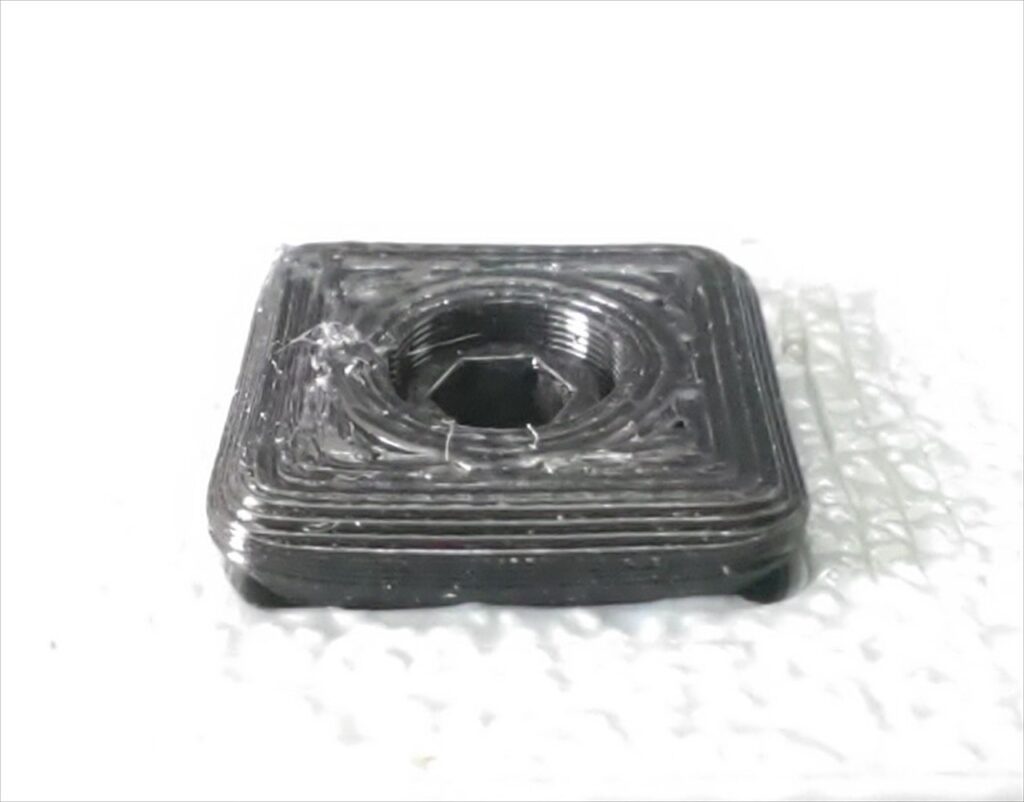
Please don’t tighten the screws too much. Screw it until the top of the screw is about 1mm under the top of rubber foot or until your hand rotating the wrench feels tight force.