For the first lot product (SN0001 – SN0019), it’s necessary to replace Arduino Nano (micro controller) with one which is burnt new boot loader to update firmware. (Boot loader is a small piece of software for uploading firmware onto the Arduino via USB). After the replacement, you can update your product’s firmware anytime by yourself using USB cable and firmware upload program (please refer user manual about update procedure).
Replacement procedure
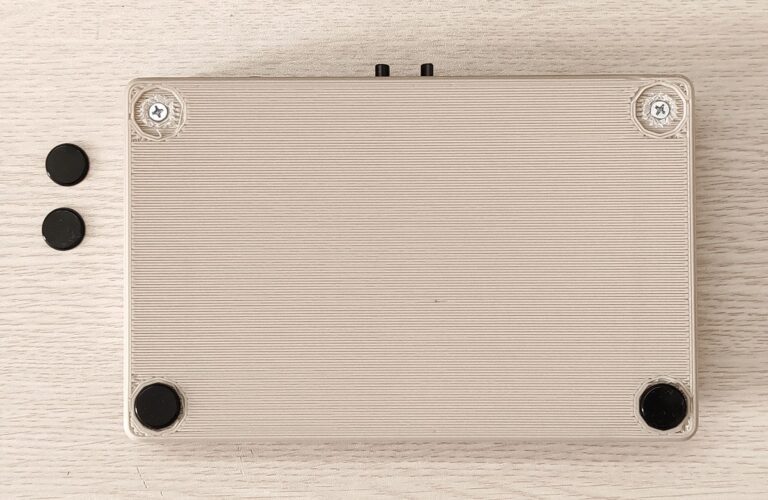
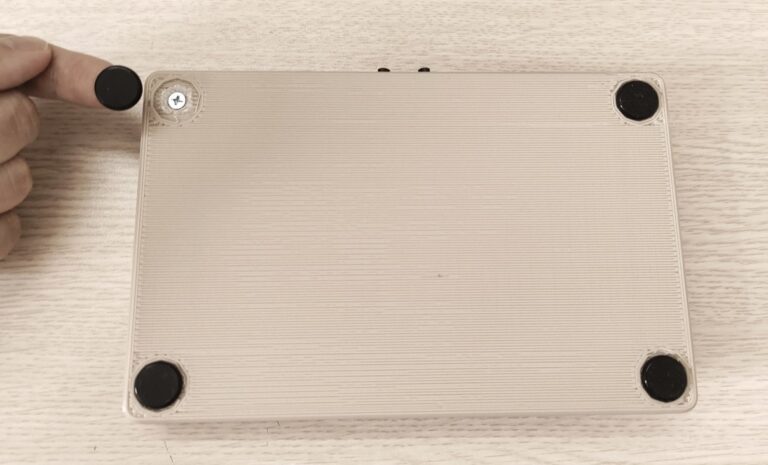
Remove two rubber feet which are near to back panel.
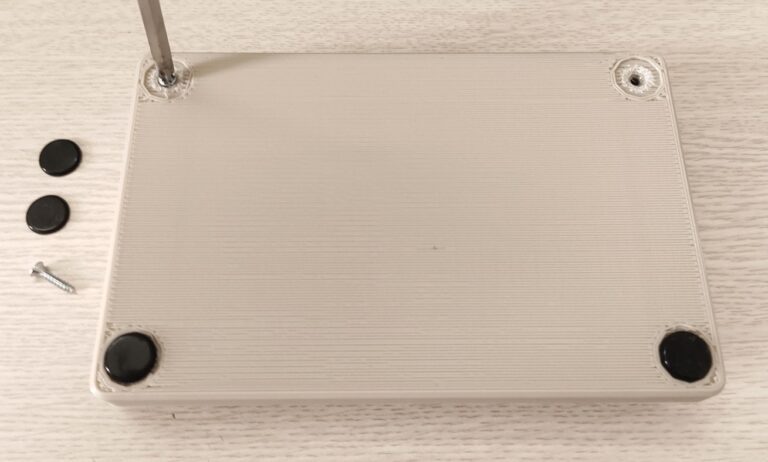
Remove two screws which are near to back panel.
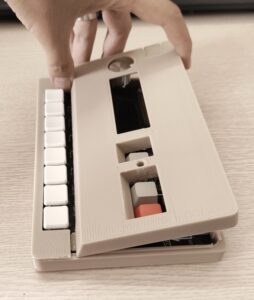
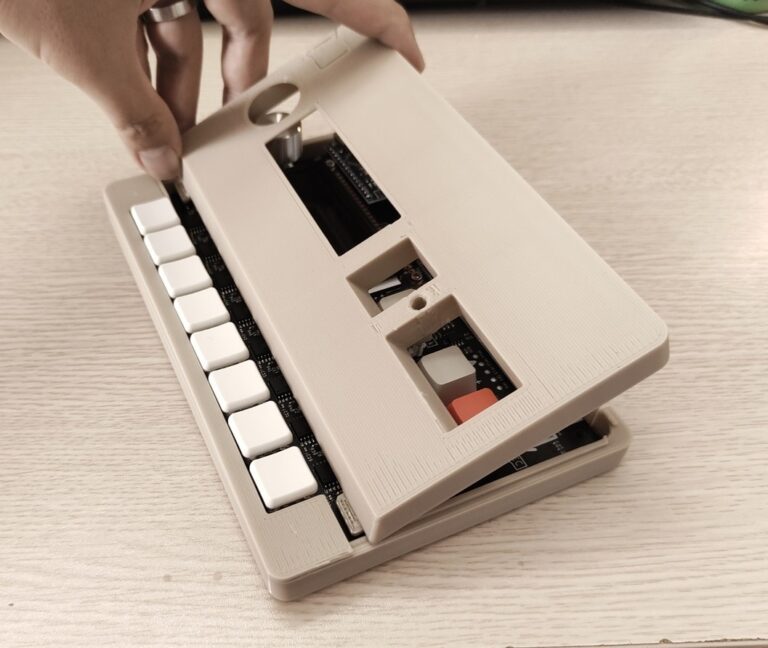
Open top case.
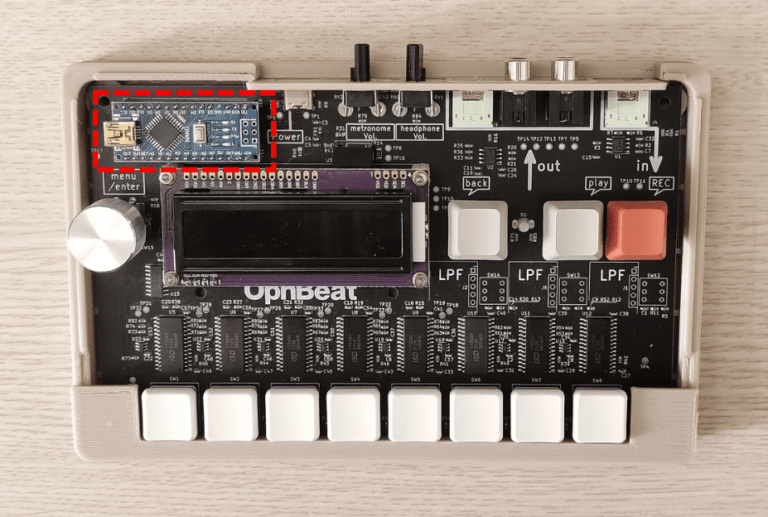
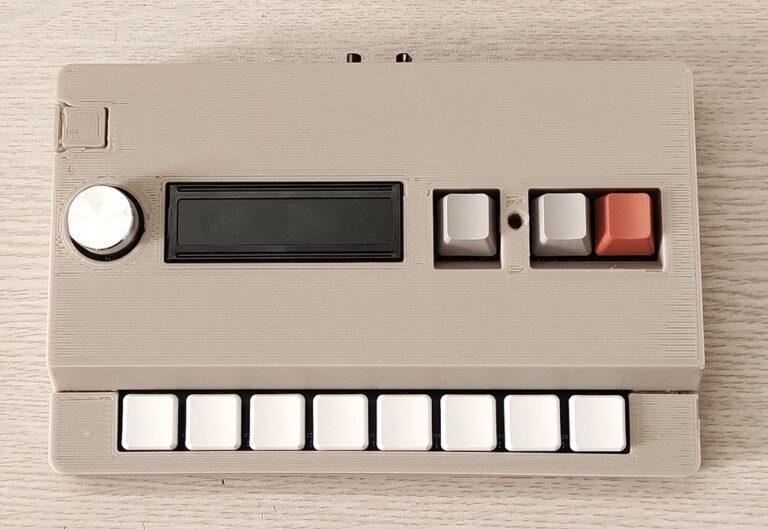
Arduino nano which is going to be replaced is here.
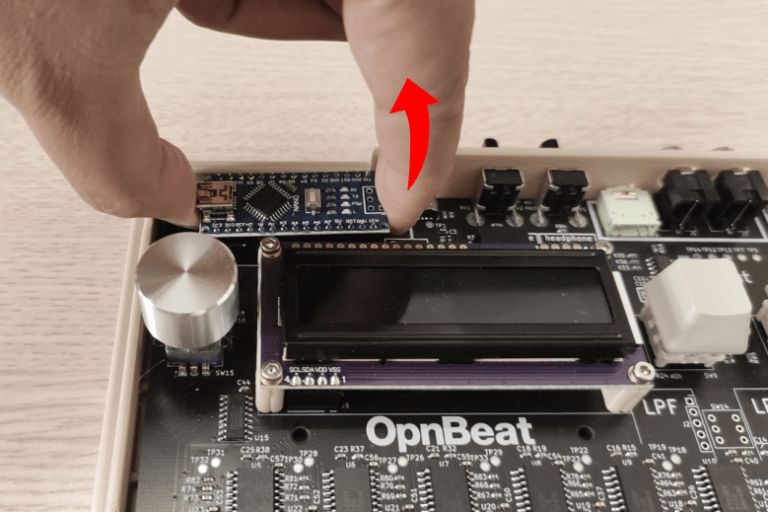
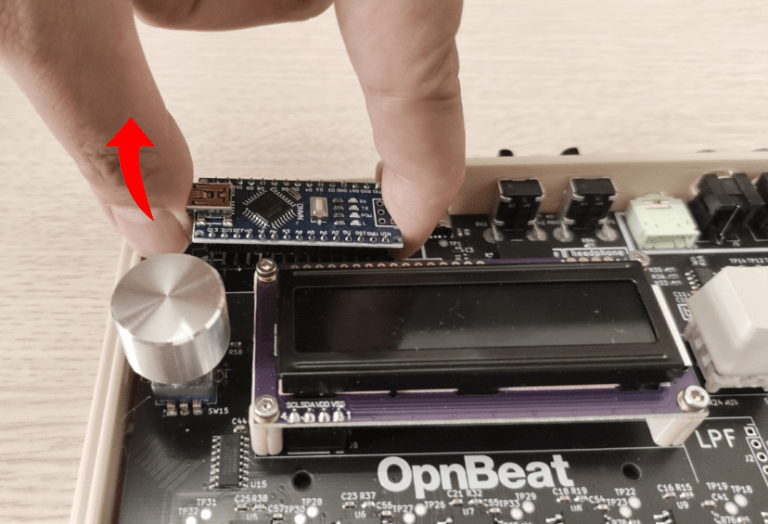
Remove Arduino by hand.
Please be careful not to bend pins of it. Pull out it little by little, by lifting each side one after another.

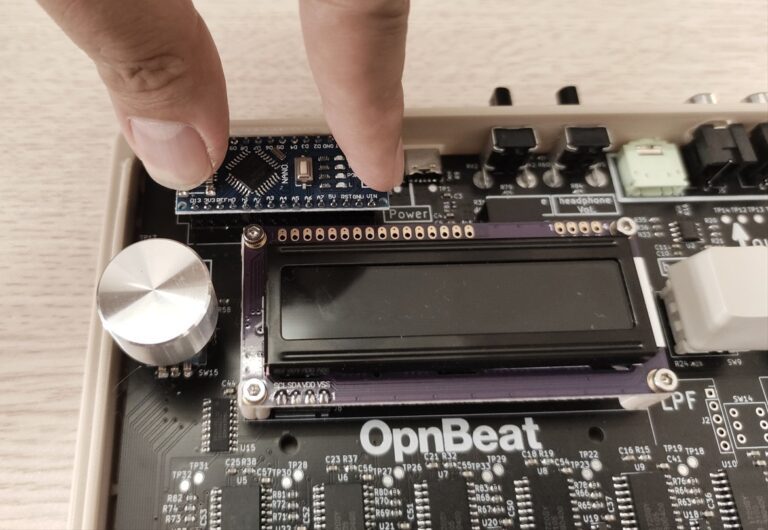
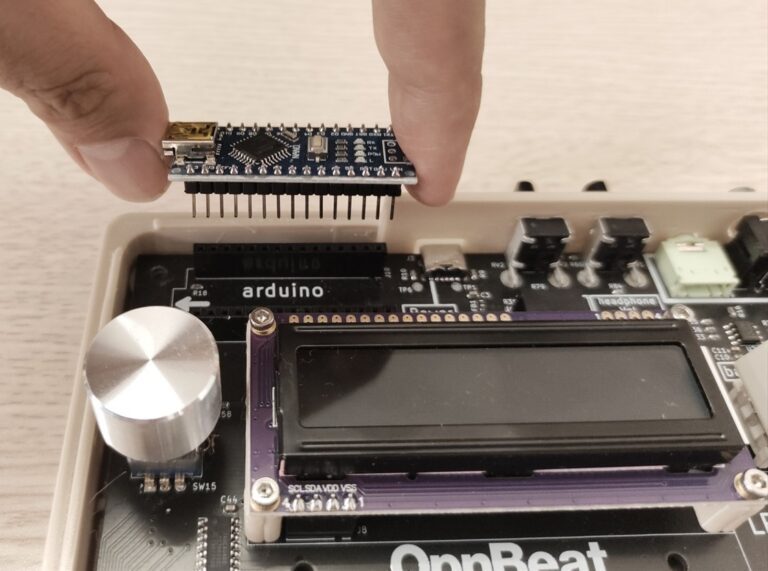
Insert the Arduino with new boot loader program into socket firmly.
Please be careful of it’s direction and position.
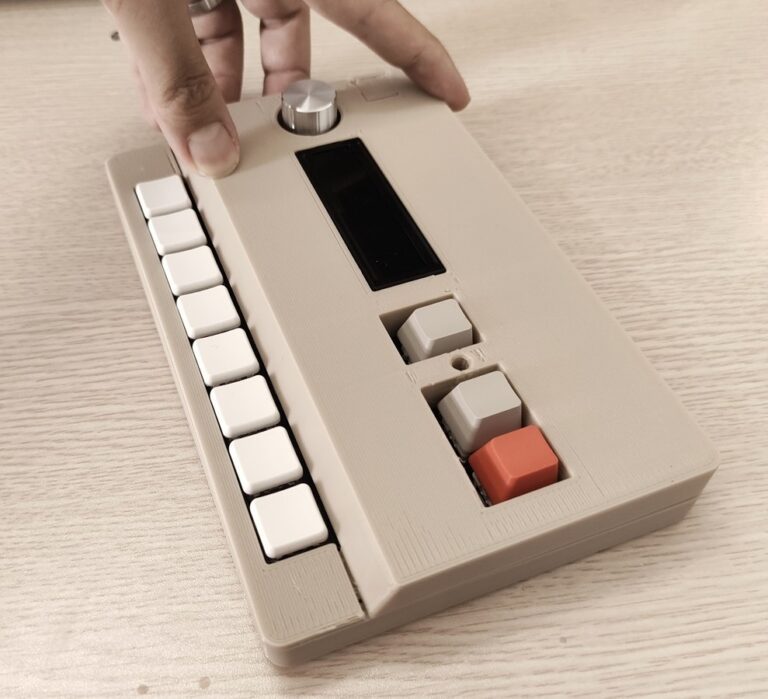
Place the top case again.
Screw two screws again.
Put rubber feet.