In this blog post, I’ll explain about how to enable pitch control function by simple modifications.
Pitch contol
The pitch control function was locked as default because the original concept of SnapBeat was simple sampler and I thought that the combination of recording sound quality setting (Lofi/Hifi) and the pitch controls makes it complicated. But you can unlock the function by some simple modifications.
How to enable pitch controls
You need to remove and add some components on the main PCB. Please prepare items below.
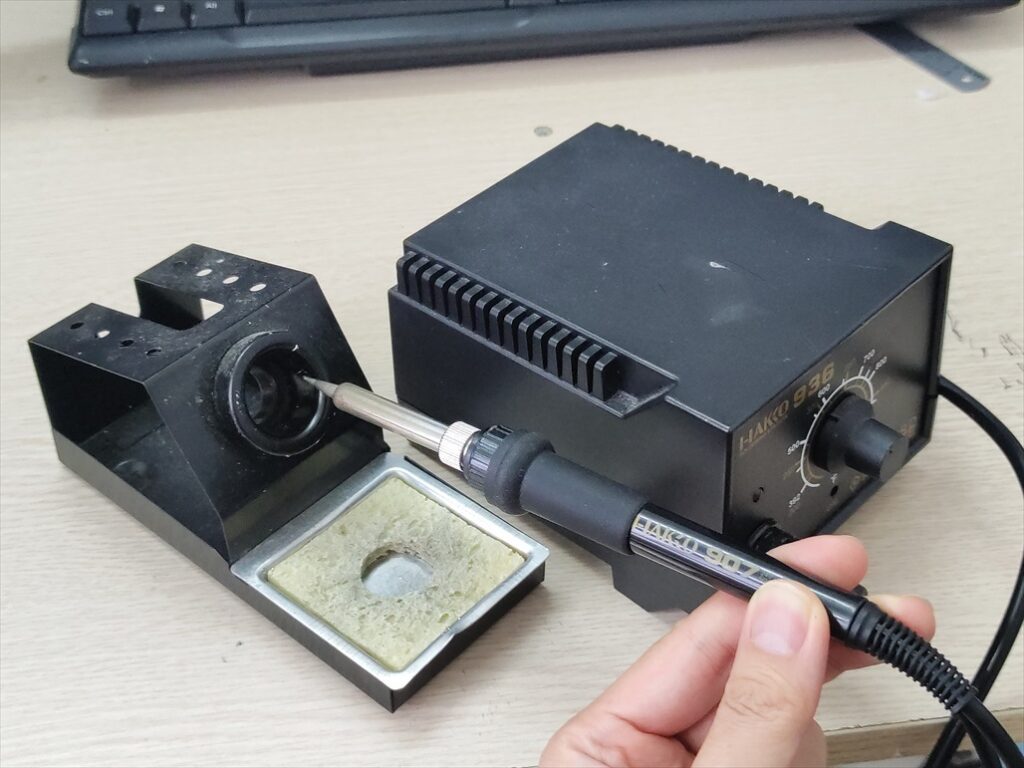
- soldering iron
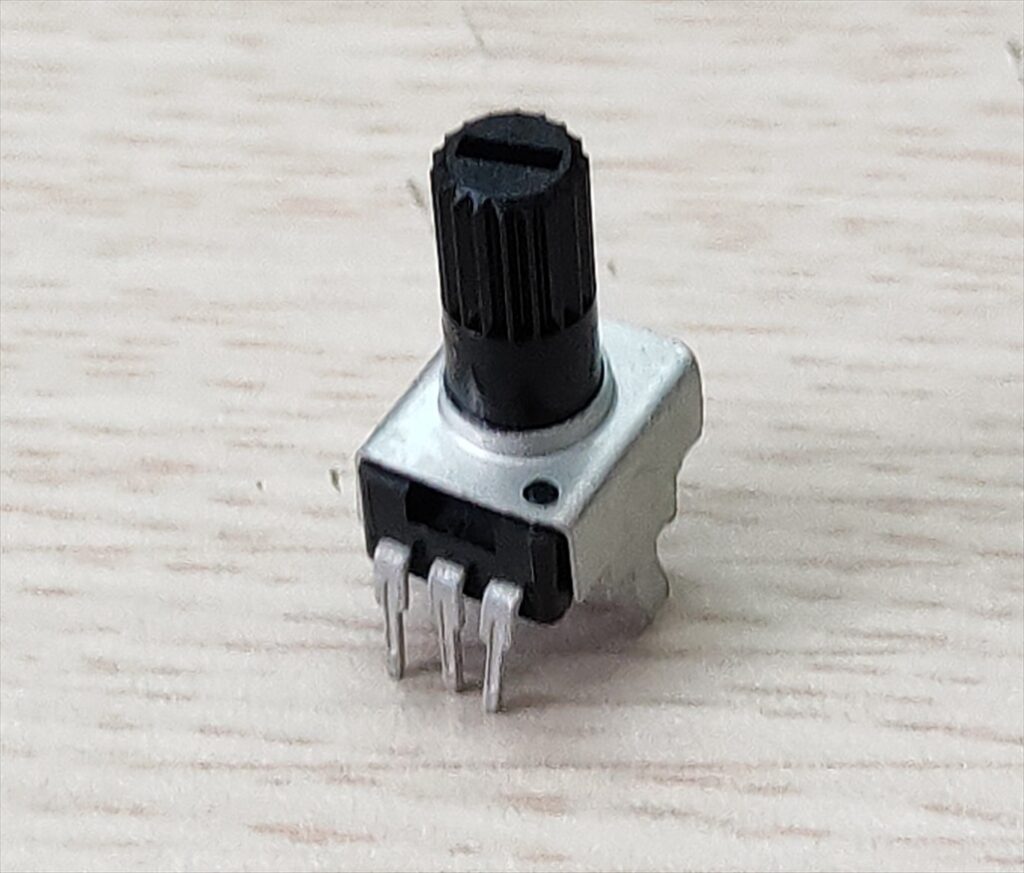
- potentiometer B50k (50k ohm, B curve) x 3 (if you add pitch controls to the all eight channels, you need eight potentiometers)
- hex wrench
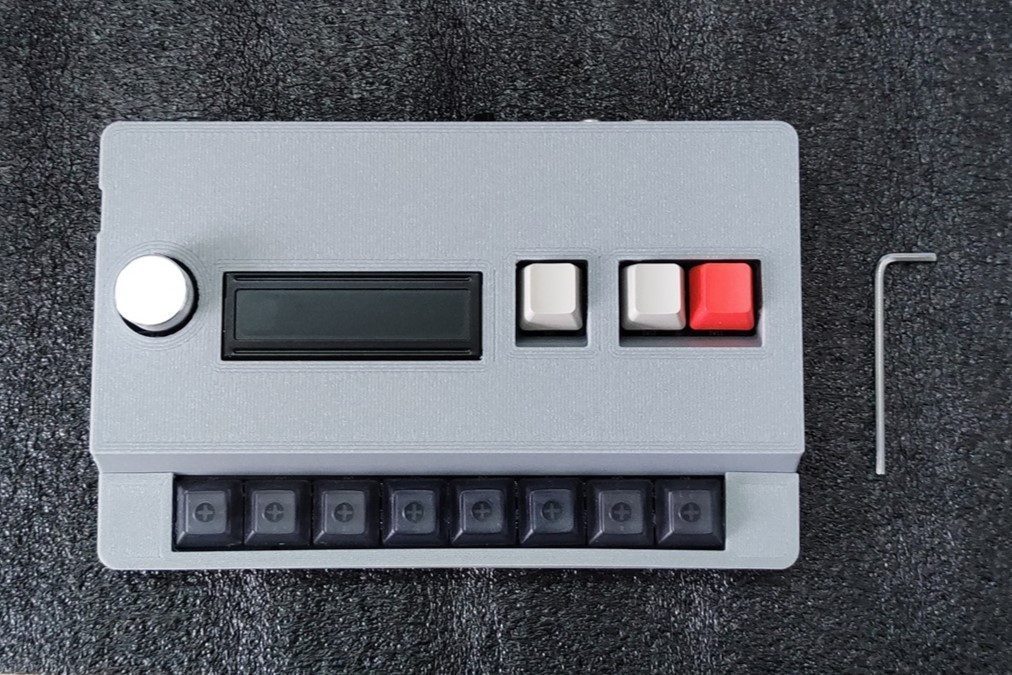
Please prepare hex wrench.
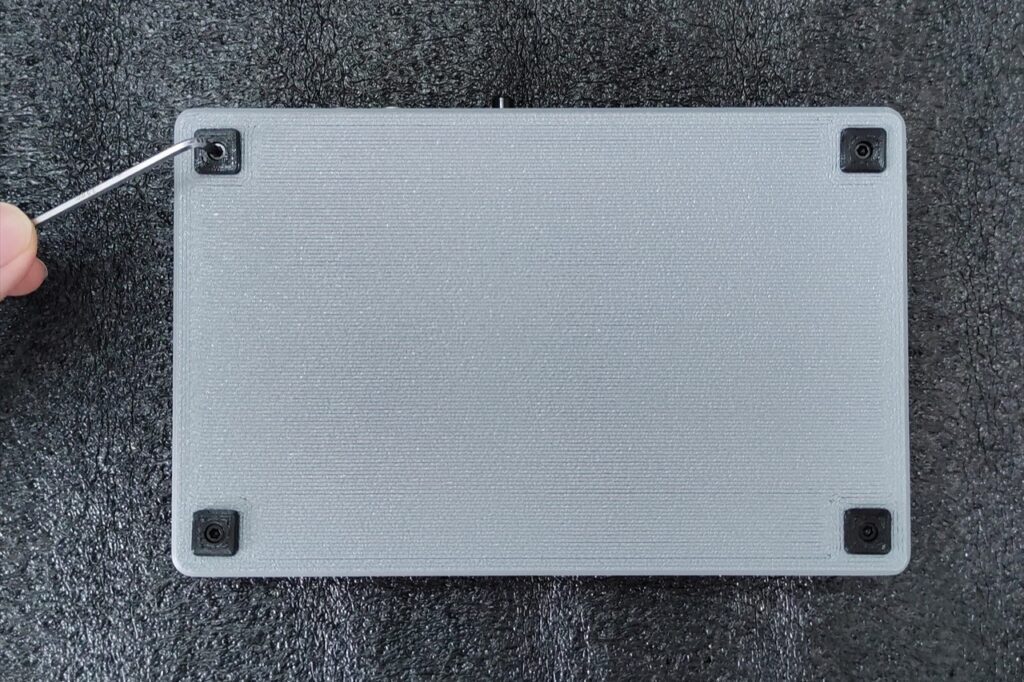
Unscrew the top two screws.
(no need to unscrew the bottom two screws)
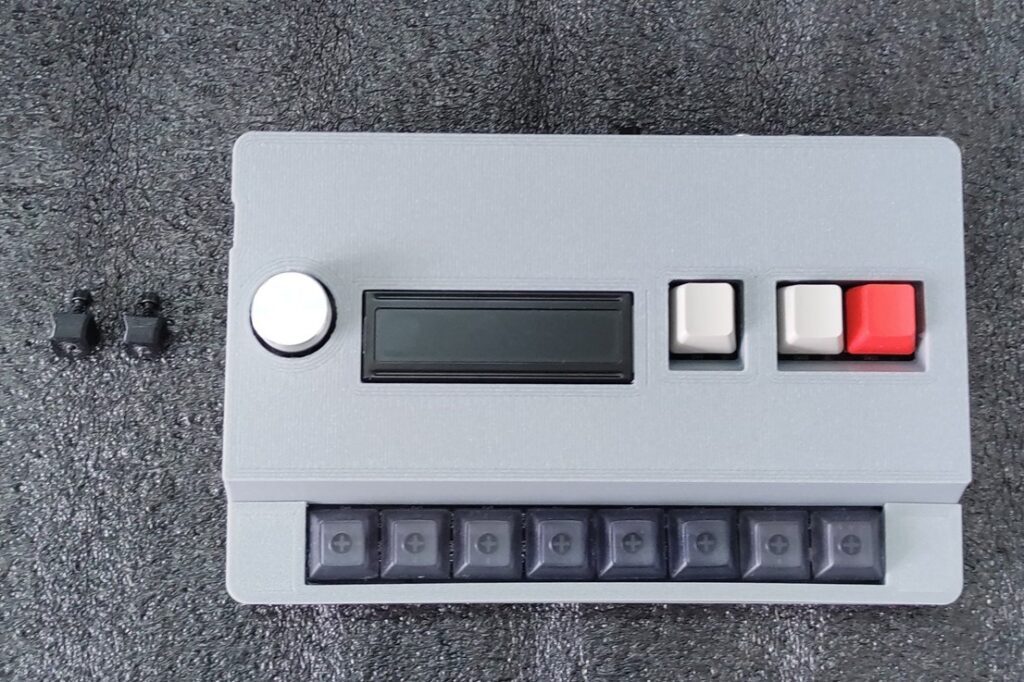
Unscrewed the screws and rubber feet was removed.
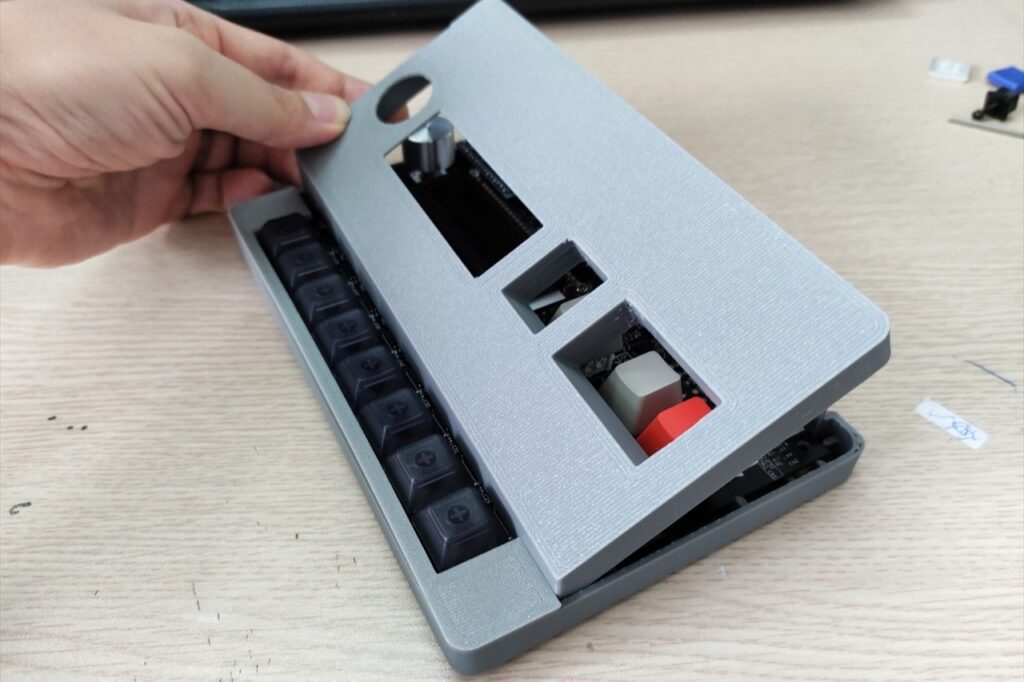
Open top case.
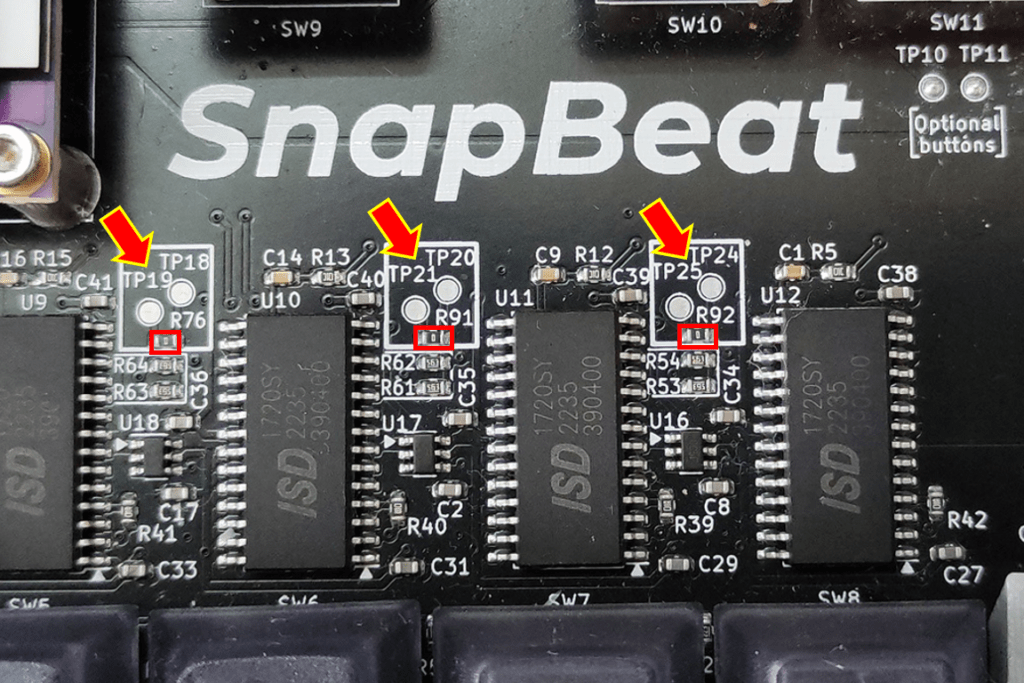
Remove the chip resisters on the main board.
- R76 : Pad 6
- R91 : Pad 7
- R92 : Pad 8
- R82 : Pad 1
- R81 : Pad 2
- R80 : Pad 3
- R83 : Pad 4
- R78 : Pad 5
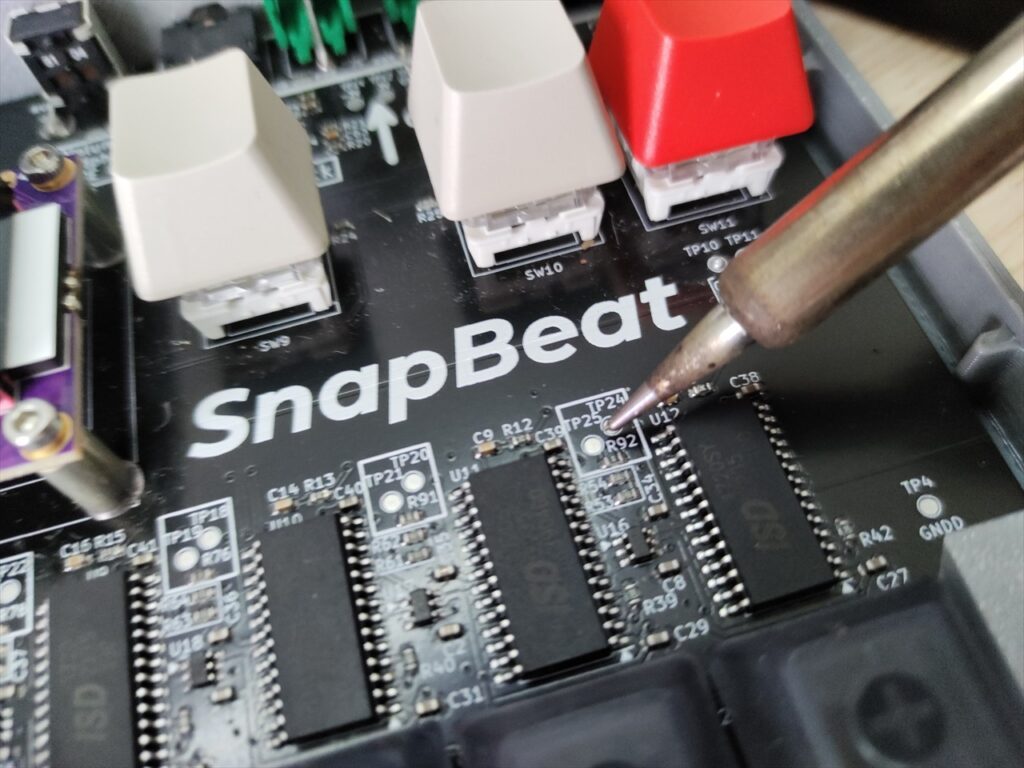
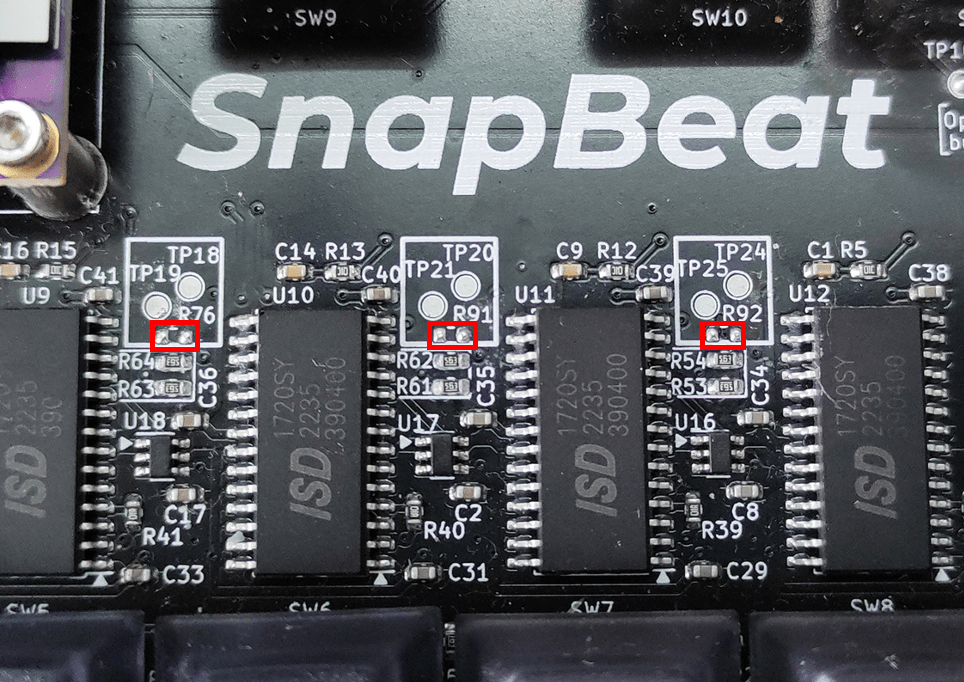
Removed resisters.
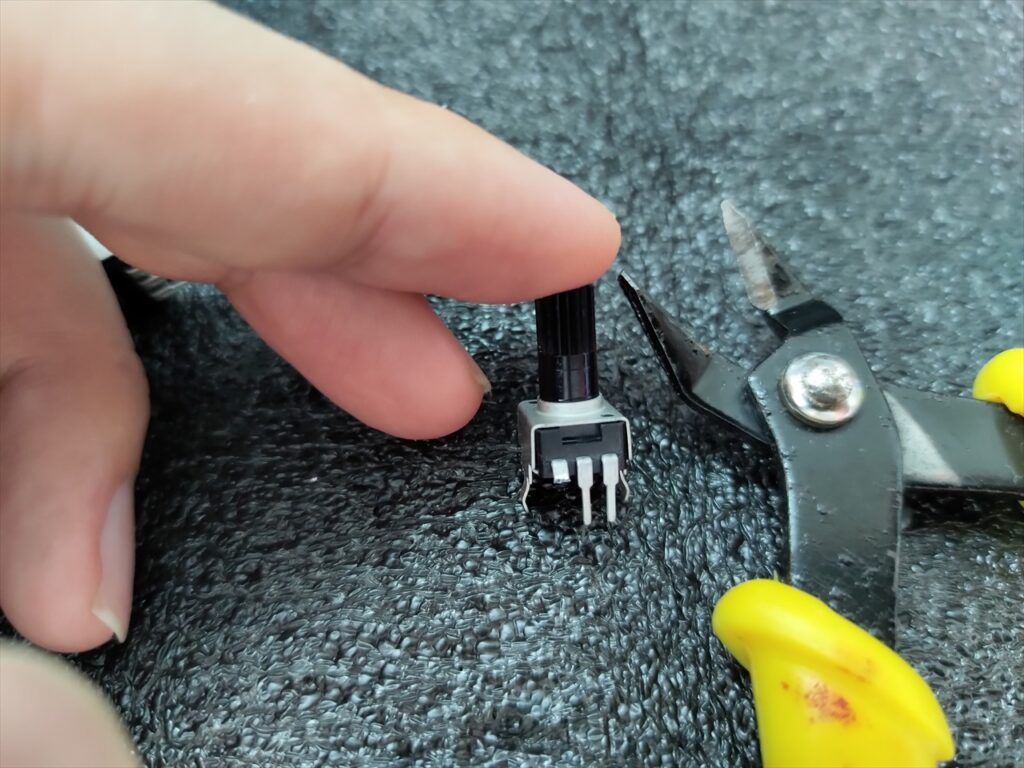
Cut the first leg of potentiometers.
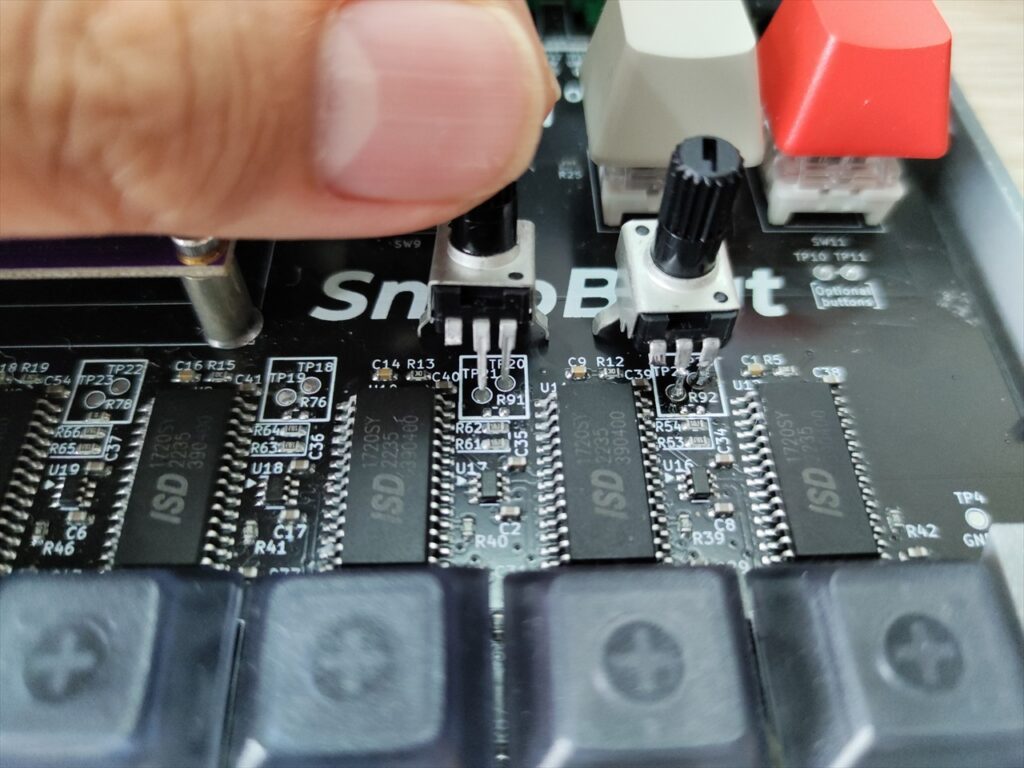
Solder the two legs of potentiometers on the test points.
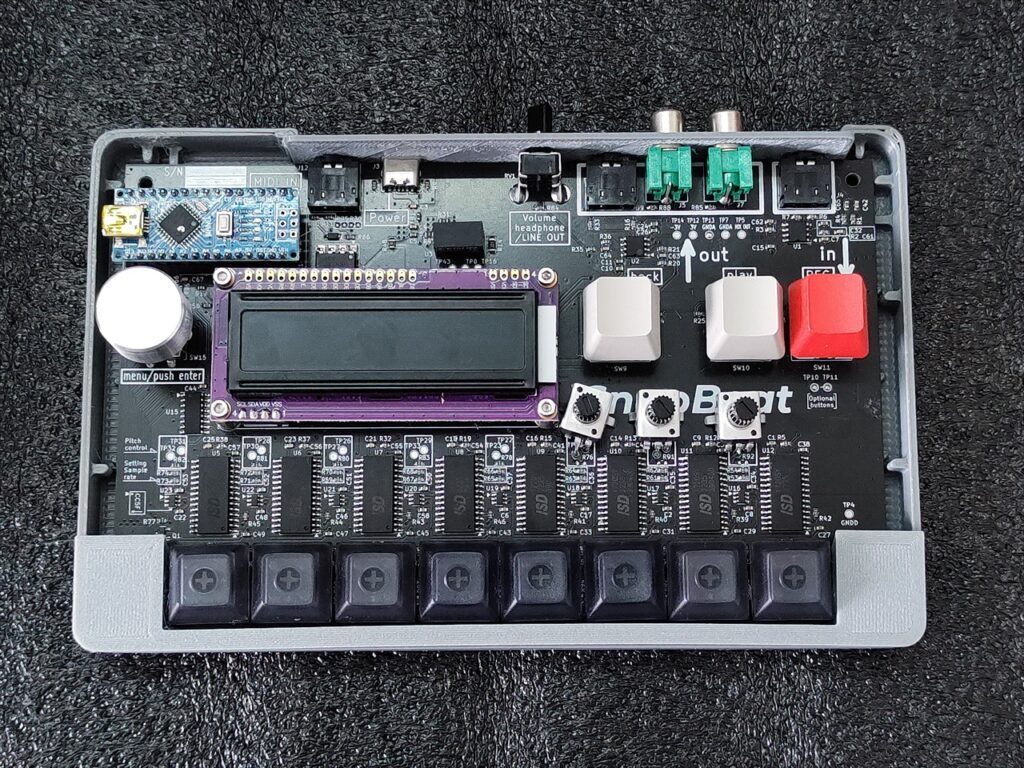
Pad 6, 7, 8 are modified.
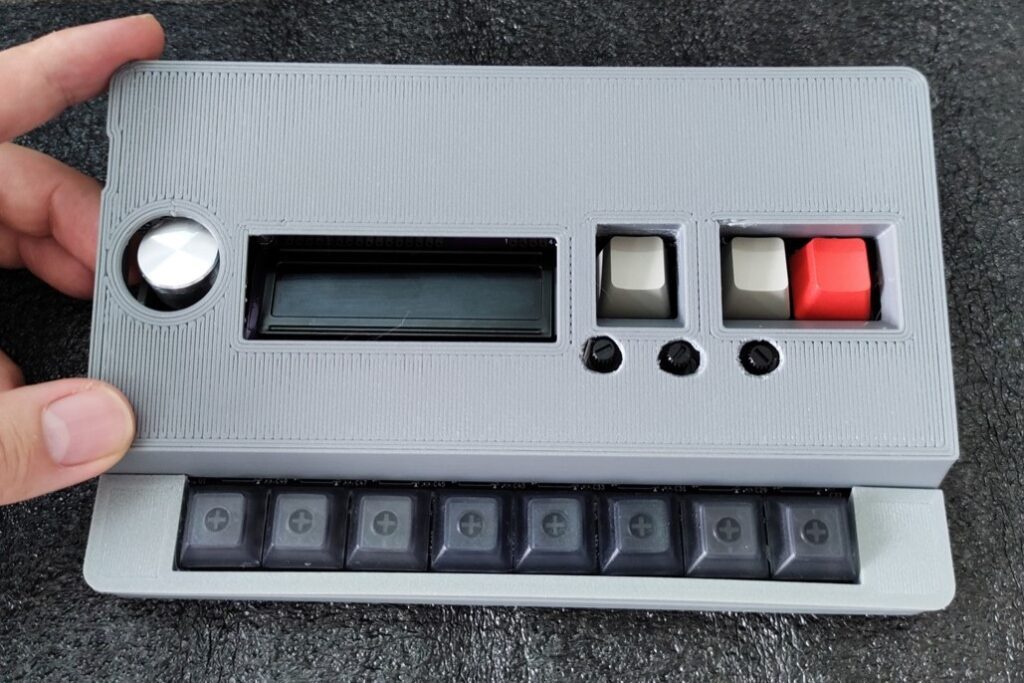
Drill three holes on the top case.
The 3D data of top case with holes will be available for download soon.
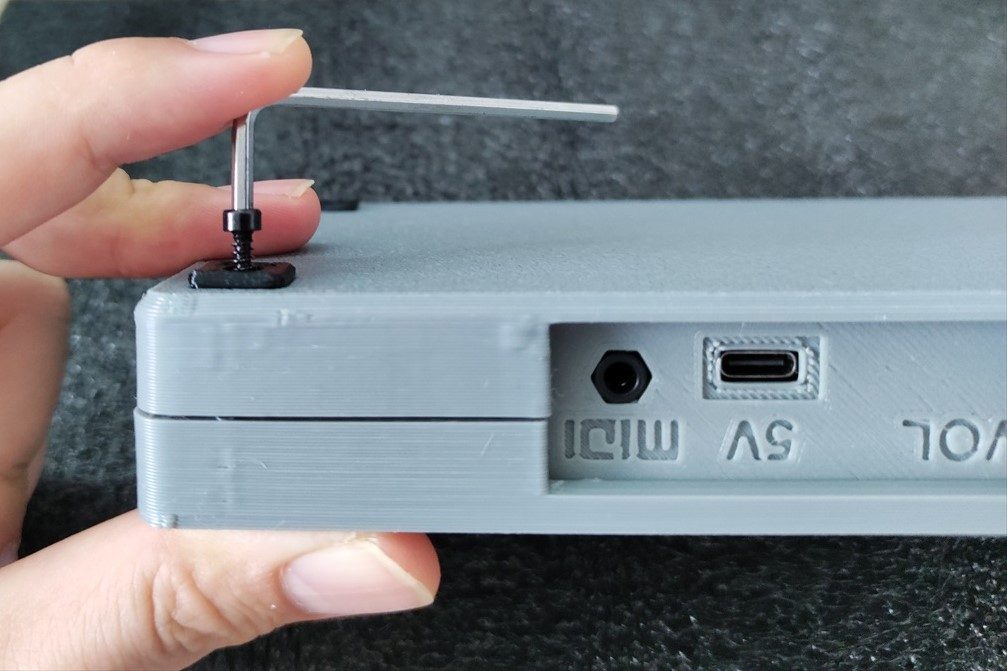
Screw the rubber feet, top and bottom cases.
Important notice
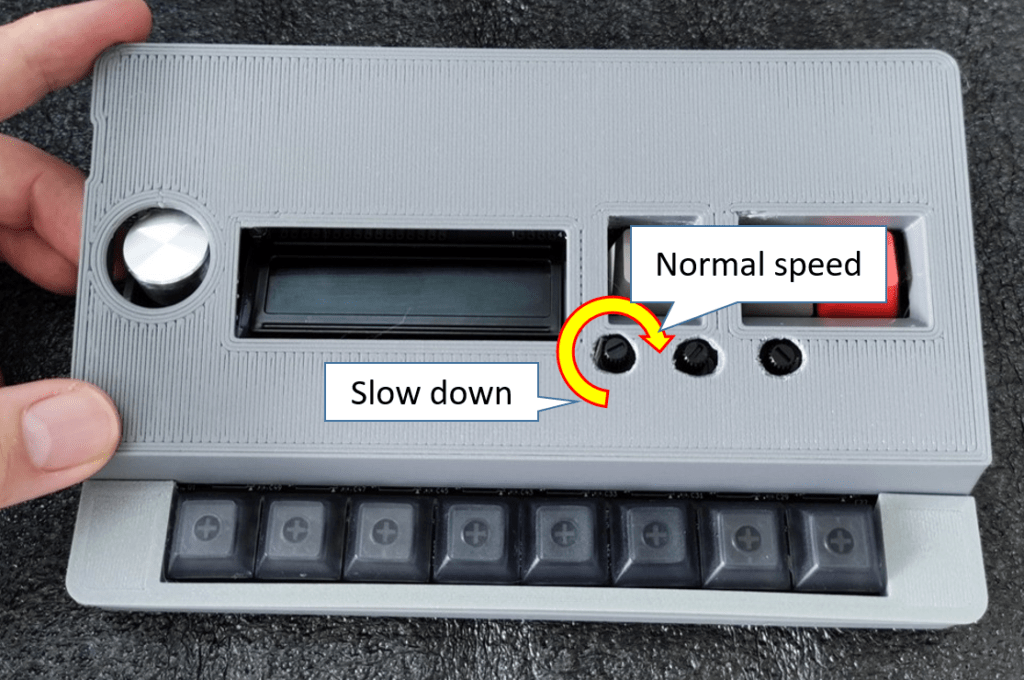
When the potentiometer is rotated clock wise, the playback speed of the sound becomes closer to its normal speed. On the contrary, when it’s rotated counter clock wise, the playback speed becomes slower.
When you sample new sound, please not to forget to turn the potentiometer up to clock wise direction completely.
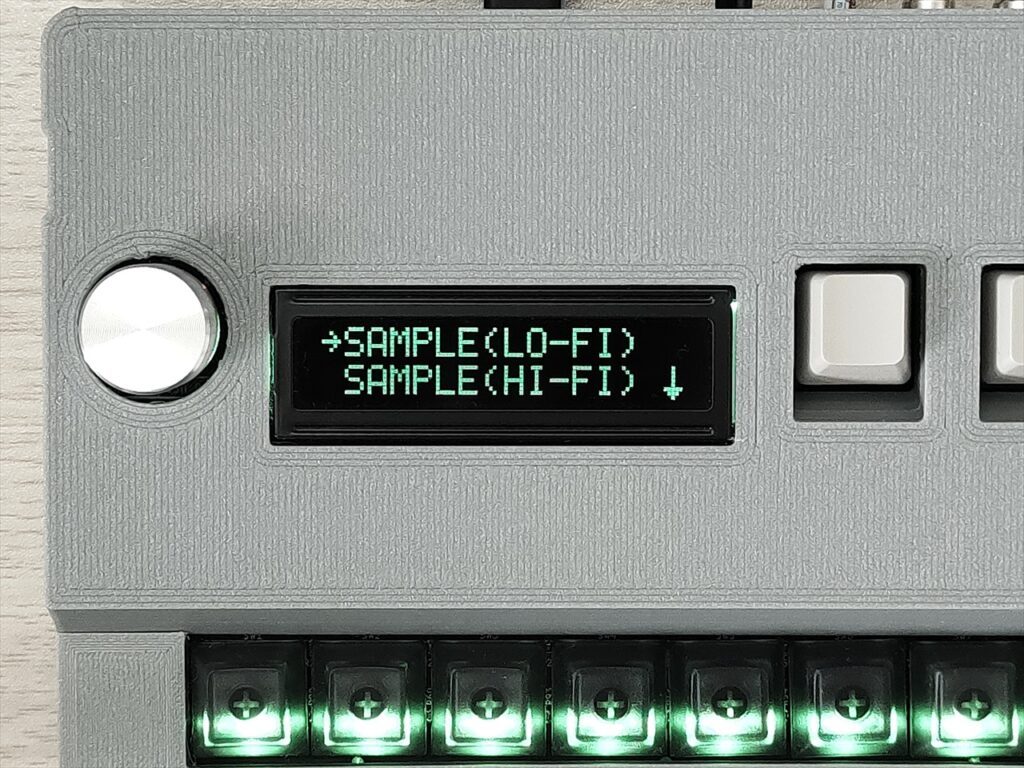
And please always use Hi-Fi mode sampling for the modified channels (Please don’t forget to record sounds with x0.5 speed).